Authentication
There are two built-in ways in this template to authenticate your users: Magic Links and Google OAuth.
5-Min Walkthrough (Magic Links)
Setup
1. Magic Links
Follow these simple steps to set up Magic Link logins:
-
Enable the email provider in your Supapase project. By default, this should be enabled for new projects.
-
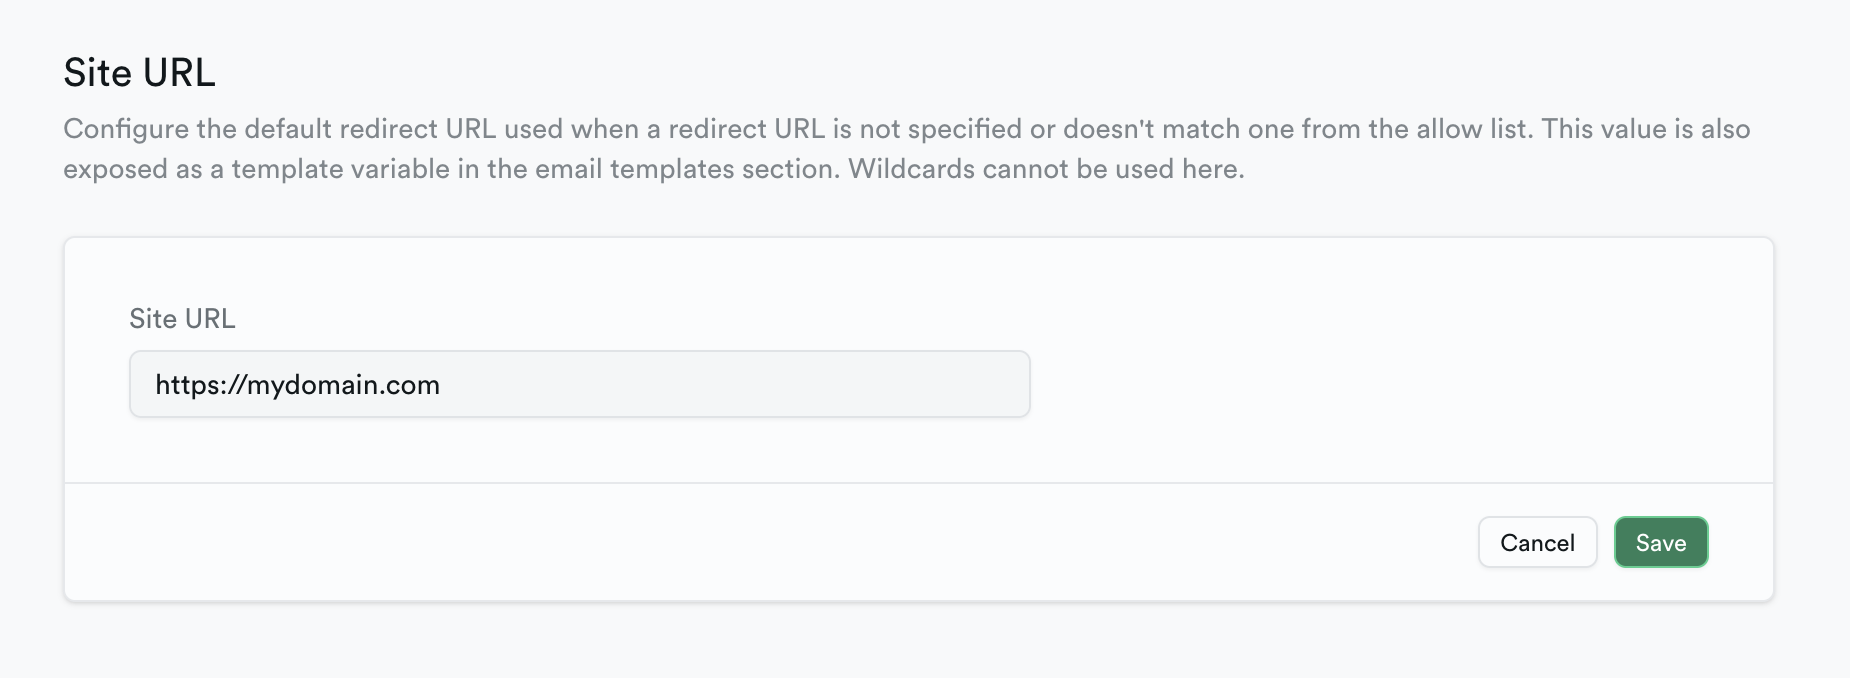
Under the authentication management tab, set the Site URL to the URL you want users to redirect to upon clicking the magic link (e.g. https://your-domain.com/dashboard). Make sure you've set this to a valid domain your users will use, and not something like http://localhost:3000
For more details, read the Supabase guide on logging in with magic link.
2. Google OAuth
You'll have to go through a few annoying (but one-time!) steps to set up a Google OAuth provider.
Assuming you already have a Google account, follow these steps:
-
Head over to Google Cloud Platform and go to your console dashboard
-
Click the "Select Project" dropdown on the top left, and create a "New Project"
-
Pick a project name, then click "Create"
-
You'll now be back to your console dashboard. Scroll to the "Quick Access" section and choose the "API and services" card. Then, on the sidebar, select "Credentials".
-
On the Credentials page, click "CONFIGURE CONSENT SCREEN", then pick "External" and click "CREATE".
-
You'll now walk through a OAuth Consent Screen configuration page – this determines what info is shown to the user when they give consent to your app. Fill in the info as follows:
- Within Authorized Domains add your Supabase project's domain,
project-ref.supabase.co - Add your app information and developer contact information
- Under Scopes, add
.../auth/userinfo.email,.../auth/userinfo.profile, andopenidas non-sensitive scopes - Add yourself as a test user
-
Go to Credentials and click "CREATE CREDENTIALS" and then "OAUTH CLIENT ID"
-
Choose [Web Application] as application type. Add
http://localhost:3000andhttps://project-id.supabase.coas "Authorized JavaScript origins", andhttps://project-id.supabase.co/auth/v1/callbackunder "Authorized redirect URIs". Click "CREATE". -
You'll now be shown the Client ID and Client Secret. Wohoo! Copy them and paste them in the Google Provider on the Supabase Dashboard
If you're using Supabase locally, make sure to copy and paste them into your .env file as well, under SUPABASE_AUTH_EXTERNAL_GOOGLE_CLIENT_ID and SUPABASE_AUTH_EXTERNAL_GOOGLE_SECRET.
For more details, read the Supabase guide on logging in with Google OAuth.
You can configure your template to use any social login provider with Supabase authentication (Github, Facebook, etc.). Follow the Supabase guide for your specific social provider.
If you want to disable Google OAuth and only launch with Magic Links, go to @/components/AuthForm and make the following change:
- providers={['google']}
+ providers={[]}
Also, make sure Line 134 in supabase/config.toml is set to enabled = false
Checking authentication status
You can use the following function in your components to check if there's an authenticated user:
import { getUser } from '@/utils/db';

...

const user = await getUser();

if (user) {
    // authenticated user exists
} else {
    // no authenticated user
}

...
If you want to log out a user manually, define a handler as follows and call it:
import { supabase } from '@/utils/supabase-client';
import { useRouter } from 'next/navigation';

...

const router = useRouter();

const handleSignOut = async () => {
    await supabase.auth.signOut();
    router.refresh();
};

...

<button onClick={handleSignOut}>
    Log Out
</button>

...
Private Routes
This template uses a middleware file, middleware.ts to handle logic for making certain routes "private" – visible only to authenticated users.
The authentication logic redirects unauthenticated users from routes starting with /dashboard to the /signin route.
It also includes an optional, commented-out logic to redirect logged-in users from the home page to the dashboard.
To enforce other private routes, you can customize the middleware to add your own logic. Ensure that the middleware is applied to your desired path by adjusting the configuration in the matcher array.
Last Updated: June 7