🎨 Image Generation with Replicate
This template uses the Replicate API to run image generation models like Stable Diffusion XL (SDXL), allowing users to generate images based on a text prompt.
How it Works
The process involves making API calls to Replicate's /predictions endpoint. Here's a short breakdown:
-
Submit a Prediction Request
- The frontend initiates the image generation by sending a POST request to the
/api/replicateNextJS API route. This request includes a payload with the user's prompt. - The API route passes this request off to Replicate's
/predictionsAPI endpoint.
- The frontend initiates the image generation by sending a POST request to the
-
Check Prediction Status
- After the initial request, the frontend keeps checking the status of the prediction by sending GET requests to
/api/replicate/[prediction_id]. While the prediction is ongoing, the app displays a loading spinner.
- After the initial request, the frontend keeps checking the status of the prediction by sending GET requests to
-
Handling Success or Failure
- Once the prediction is completed, the app updates the UI. If the prediction is successful, the generated image is displayed to the user.
-
Uploading to Supabase
- If the prediction is successful, its details are stored in Supabase in the
sdxl_imagestable. This includes a URL to the image stored on Replicate's database. (Note that Replicate automatically deletes generated images in a few hours, so you need to store them separately in Supabase storage to make them persistent.)
- If the prediction is successful, its details are stored in Supabase in the
3-Min Walkthrough
Steps taken on the frontend
1. Making a Prediction Request
To generate an image, users enter a prompt on the /dashboard/generate page. The app then sends this prompt to Replicate for processing.
// Example of submitting a prediction request
const handleSubmit = async (e: any) => {
  e.preventDefault();
  const response = await fetch('/api/replicate', {
    method: 'POST',
    headers: {
      'Content-Type': 'application/json',
    },
    body: JSON.stringify({
      input: {
        prompt: e.target.prompt.value,
      },
    }),
  });

  // Handling response...
};
2. Checking Prediction Status
The app continuously checks the status of the prediction until it's either succeeded or failed.
// Example of checking prediction status
while (prediction.status !== 'succeeded' && prediction.status !== 'failed') {
  await sleep(1000);
  const response = await fetch('/api/replicate/' + prediction.id);
  prediction = await response.json();
  // Handling response...
}
3. Uploading to Supabase
If the prediction is successful, the generated image is uploaded to Supabase.
// Example of uploading generated image to Supabase
if (prediction.status === 'succeeded') {
  await uploadGeneratedImage(prediction);
}
Setup
Configure the following in your app to start using image generation:
1. Replicate API Token
Go to your Replicate Account, copy the API Token, and set it in your .env file.
# Update this with your Replicate API Key
REPLICATE_API_TOKEN=r8_cyh*****************************
2. Model and Version
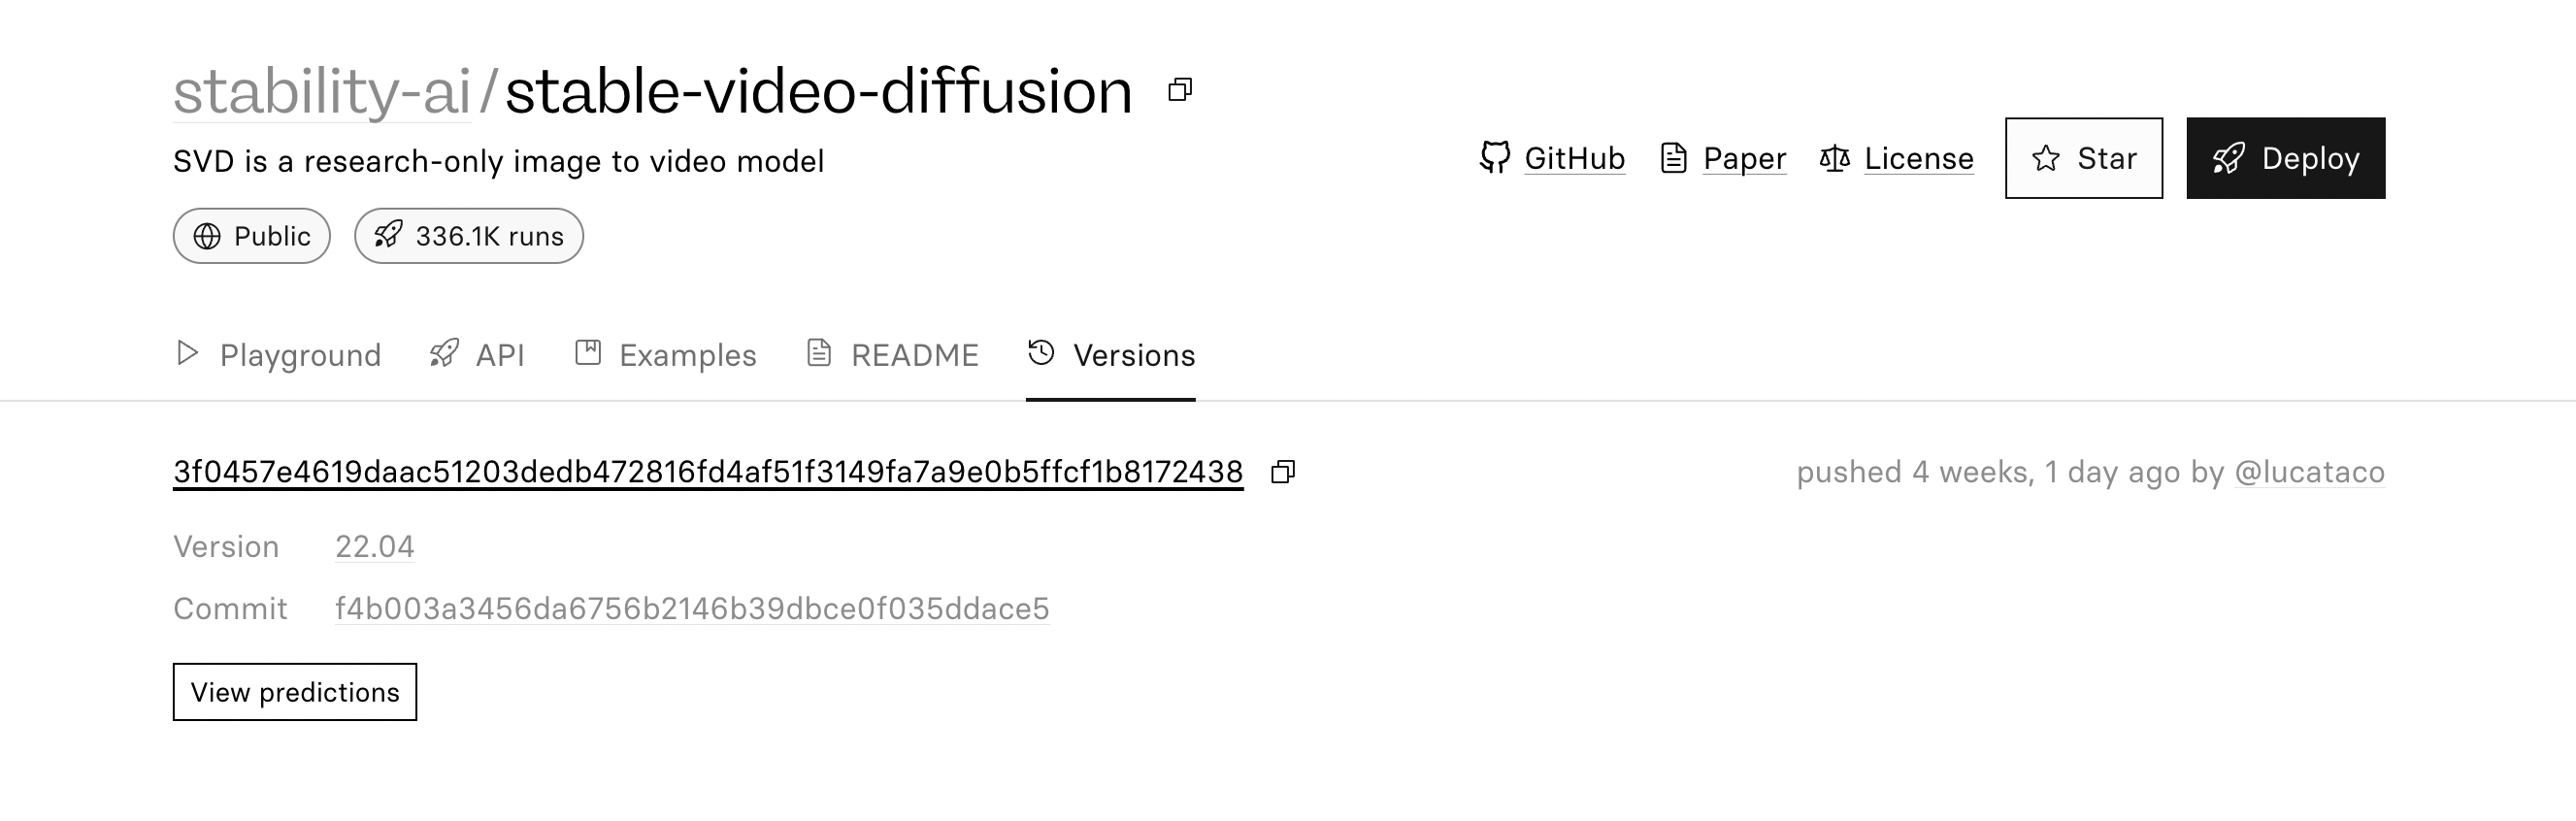
Specify the Replicate model and version you want to run in your environment. By default, the .env.example pins this to a version of Stable Diffusion:
# Update this with the model and version you want to run
REPLICATE_MODEL_VERSION=2b017d9b67edd2ee1401238df49d75da53c523f36e363881e057f5dc3ed3c5b2
You can find the version for any model on the Versions tab of the model card on Replicate's website (https://replicate.com/[company]/[model]/versions).
Last Updated: June 7